在Vue项目里使用高德地图,网上有几个比较好用的,例如
懒人和需求不复杂的,可以直接使用上面的。上面两开源的已经不太活跃了,用的不放心。有些地图的高级功能,用起来特麻烦。所以,抛开第三方,封装自己的地图组件。
需求
- 组件按需引入。个人喜欢代码干干净净,只要项目需要的功能就行了
- 简单的封装下,方便直接按官方文档使用需要的功能,方便复用
- 基于 Vue2,AMap 2.0,AMapUI 1.1
知识点
- Vue插槽
slot,方便在地图上使用各种AMapUI功能
- Vue通知
emit、on。为了传参,主要是获取地图AMap对象
- Vue组件封装,组件间有依赖的封装,可以参考
- Vue异步加载组件
- 演示用的轨迹数据通过本地mock实现,参考 vue本地模拟服务器请求mock数据
实现
components – map – index.vue
地图单文件组件,主要代码如下,具体参考代码
| <template>
<div class="amap-view">
<div id="amapcontainer" :style="{ height: mapHeight }" />
<slot />
</div>
</template>
|
components – map – index.js
地图组件的业务代码,可以配置地图开放的属性props和监听事件。
例如这里,开放了amapKey(申请的高德地图key),styleId(高德地图样式id),zoom(缩放值),center(地图加载默认中心点),height(地图默认高度值),plugins(地图默认加载的插件),uis(地图默认加载的AMapUI)。
监听了地图加载完毕的事件amap-ready,地图加载完毕才能搞事。把地图对象传给AMapUI相关封装的组件,方便调用。
用的是高德地图2.0版本,项目里面加载主要参考官方文档 高德地图JSAPI 的加载
主要代码如下,具体参考代码
1
2
3
4
5
6
7
8
9
10
11
12
13
14
15
16
17
18
19
20
21
22
23
24
25
26
27
28
29
30
31
32
33
34
35
36
37
38
39
40
41
42
43
44
45
46
47
48
49
50
51
52
53
54
55
56
57
58
59
60
61
62
63
64
65
66
67
68
69
70
71
72
73
74
75
| import AMapLoader from '@amap/amap-jsapi-loader'
export default {
name: 'AmapView',
props: {
amapKey: {
type: String,
default: '6411e510973dc722ce416a298588ae4e'
},
styleId: {
type: String,
default: '728e2ca5c2c75aa8b26190a9e23c4687'
},
zoom: {
type: Number,
default: 12
},
center: {
type: [Array, String],
default() {
return [113.220218, 23.404165]
}
},
height: {
type: Number | String,
default: 520
},
plugins: {
type: Array,
default: () => []
},
uis: {
type: Array,
default: () => ['overlay/SimpleMarker']
}
},
computed: {
mapHeight() {
return isNaN(this.height) ? this.height : `${this.height}px`
}
},
data() {
return {
map: ''
}
},
beforeDestroy() {
this.map && this.map.destroy()
this.map = null
},
created() {
this.initMap()
},
methods: {
initMap() {
AMapLoader.load({
key: this.amapKey,
version: '2.0',
AMapUI: {
version: '1.1',
plugins: this.uis
}
}).then((AMap) => {
this.map = new AMap.Map('amapcontainer', {
zoom: this.zoom,
center: this.center,
mapStyle: `amap://styles/${this.styleId}`
})
this.$emit('amap-ready', this.map)
}).catch(e => {
console.log(e)
})
}
}
}
|
components – map –polyLine.vue
轨迹组件,主要开放了轨迹属性linePath,方便界面调用传参。具体属性配置参考文档 pathsimplifier
主要代码如下,具体参考代码
1
2
3
4
5
6
7
8
9
10
11
12
13
14
15
16
17
18
19
20
21
22
23
24
25
26
27
28
29
30
31
32
33
34
35
36
37
38
39
40
41
42
43
44
45
46
47
48
49
50
51
52
53
54
55
56
57
58
59
60
61
| <template>
<div />
</template>
<script>
export default {
name: 'AmapPolyline',
props: {
linePath: {
type: Array,
default() {
return []
},
required: true
}
},
created() {
this.$parent.$on('amap-ready', this.initComponents)
},
methods: {
initComponents(amap) {
AMapUI.load(['ui/misc/PathSimplifier'], (PathSimplifier) => {
if (!PathSimplifier.supportCanvas) {
alert('当前环境不支持 Canvas!')
return
}
const pathSimplifierIns = new PathSimplifier({
zIndex: 100,
map: amap,
getPath: function(pathData, pathIndex) {
return pathData.path
},
getHoverTitle: function(pathData, pathIndex, pointIndex) {
if (pointIndex >= 0) {
return pathData.name + ',点:' + pointIndex + '/' + pathData.path.length
}
return pathData.name + ',点数量' + pathData.path.length
},
renderOptions: {
renderAllPointsIfNumberBelow: 100
}
})
pathSimplifierIns.setData([{
name: '路线0',
path: this.linePath
}])
const navg1 = pathSimplifierIns.createPathNavigator(0, {
loop: true,
speed: 100
})
navg1.start()
})
}
}
}
</script>
|
调用方式
具体参考polylineTest 里面的代码
polylineTest – index.vue
组件的调用方式
1
2
3
| <amap-view>
<amap-polyline :line-path="data" />
</amap-view>
|
polylineTest – index.js
这里模拟请求轨迹数据,异步加载封装的地图组件AmapView 和轨迹组件AmapPolyline
1
2
3
4
5
6
7
8
9
10
11
12
13
14
15
16
17
18
19
20
21
22
23
24
25
| import { polylineData } from '@/api/polyline'
export default {
name: 'polylineTestView',
components: {
AmapView: () => import ('@/components/map/index.vue'),
AmapPolyline: () => import ('@/components/map/polyLine.vue')
},
data() {
return {
data: []
}
},
created() {
this.testData()
},
methods: {
async testData() {
const { code, result } = await polylineData()
if (code !== 0) return
this.data = result.data
}
}
}
|
纯地图组件效果
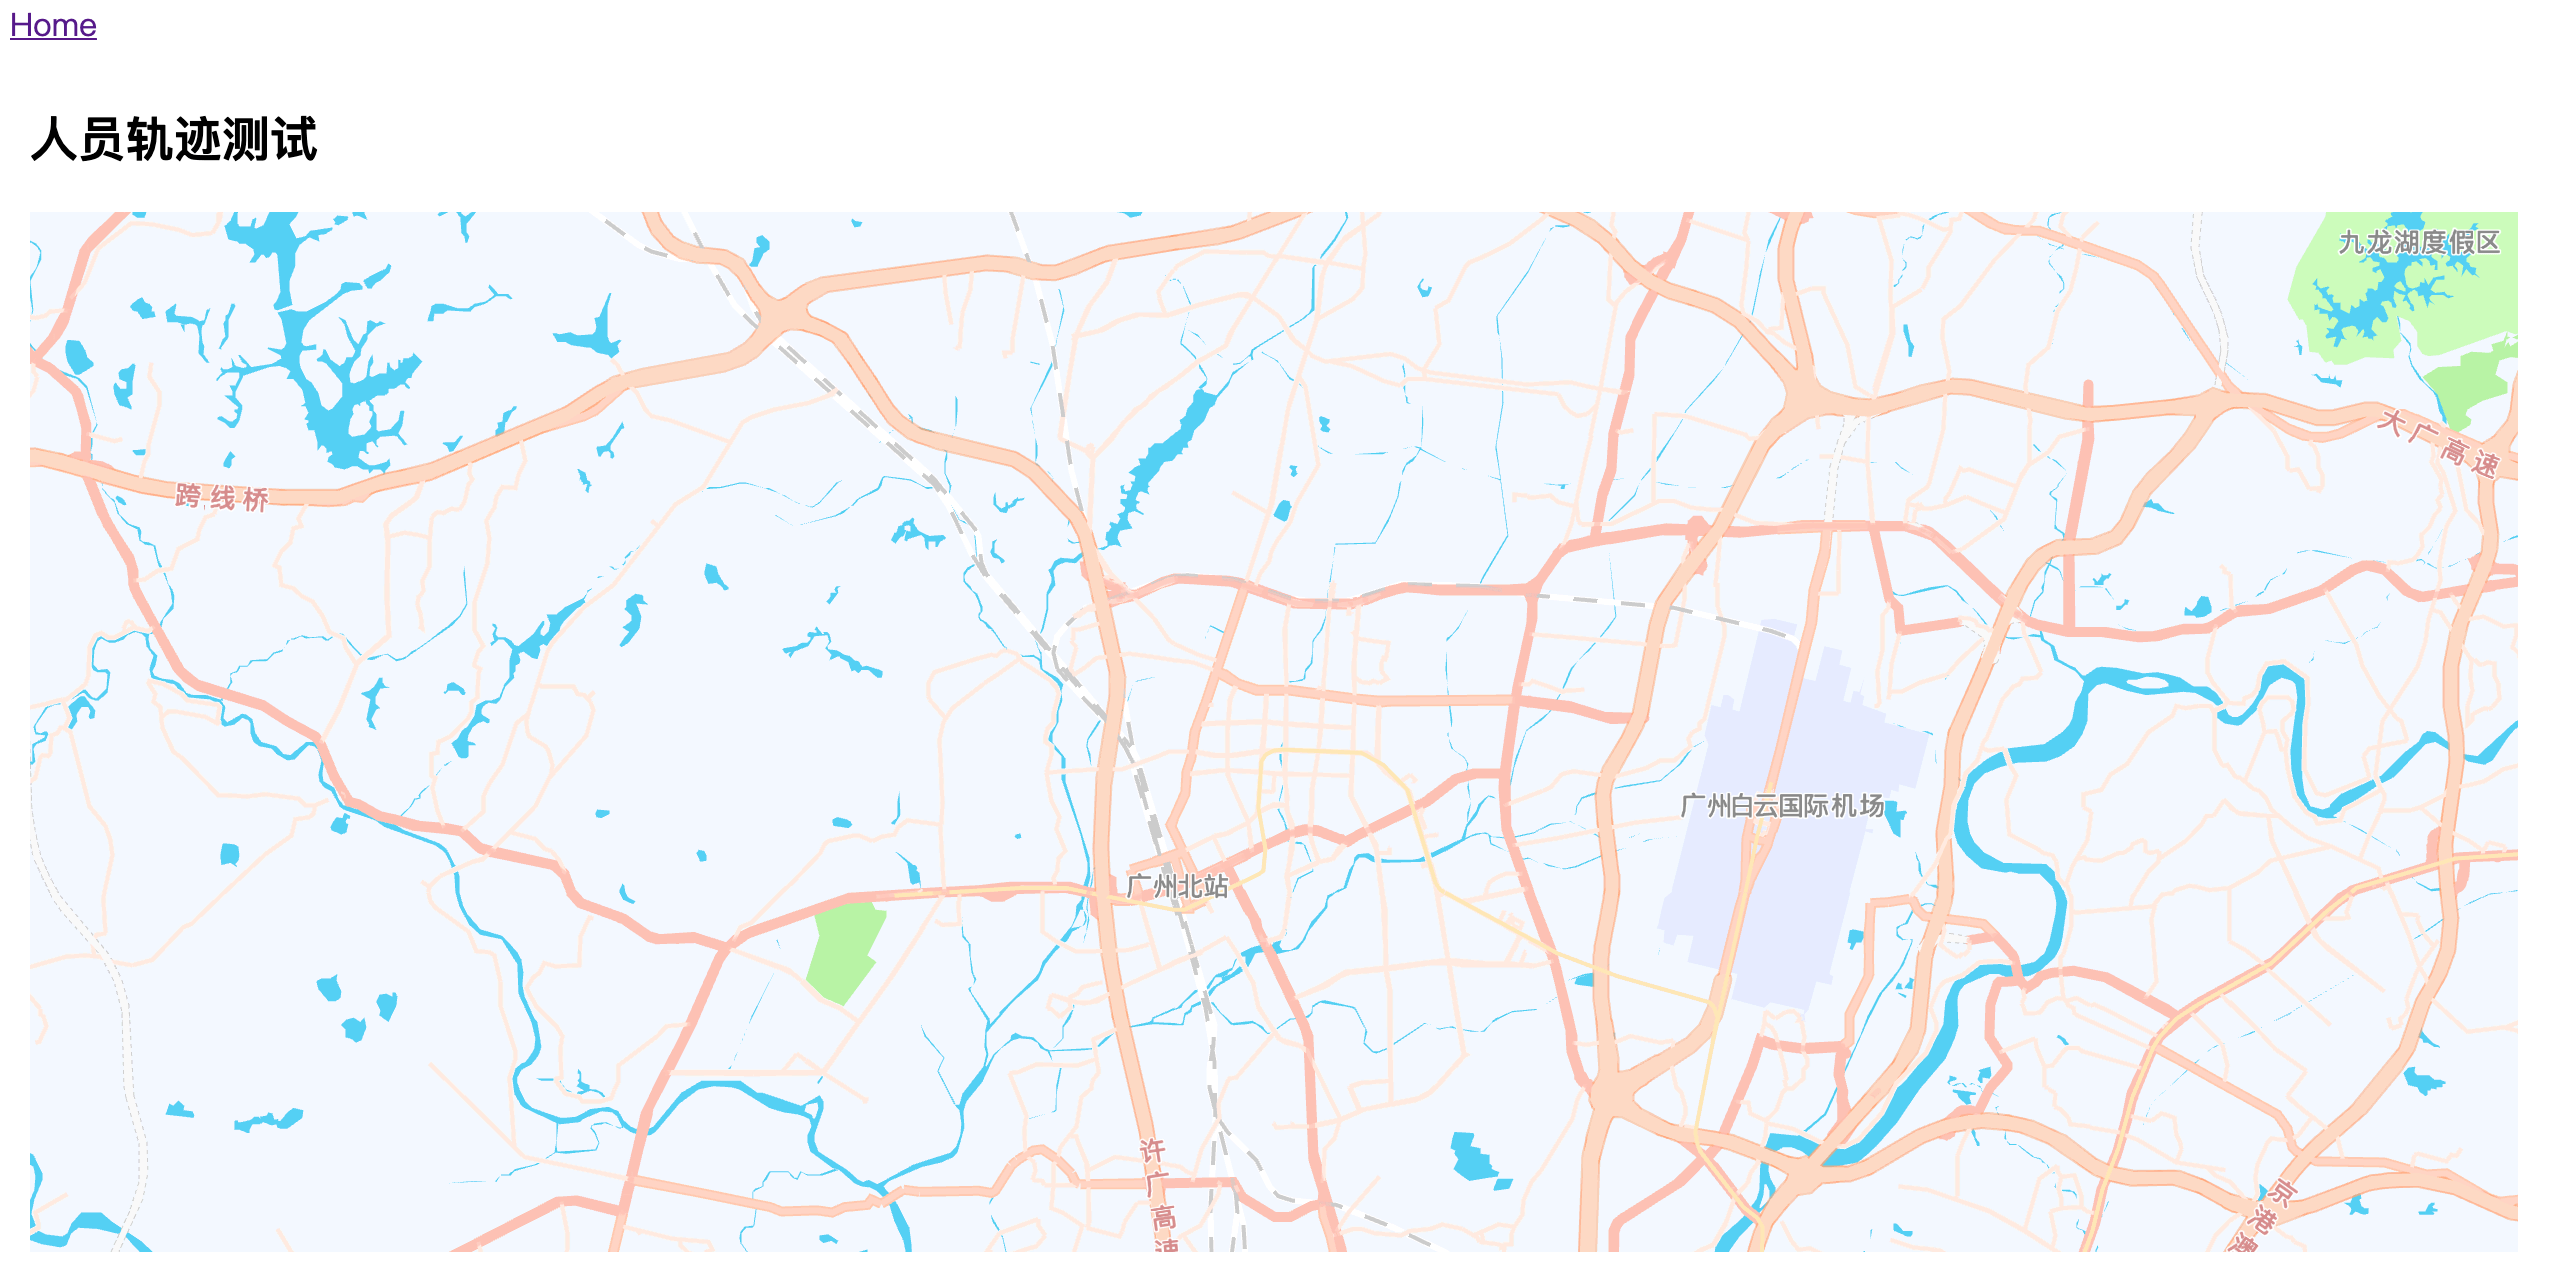
带上轨迹组件效果
注意
createPathNavigator的speed属性,在放大地图(zoom值很大)的时候,千万别设置太大的值,不然会看不到轨迹运动的效果的,一动不动,莫名其妙的。代码没问题,但是没效果,这真的很蛋疼。估计是运动太快,眼睛跟不上。
代码总览
涉及的文件如下(具体参考代码):
1
2
3
4
5
6
7
8
9
10
11
12
13
14
15
16
| |-- public
|-- data
|-- polyline.json // 演示用轨迹数据
|-- src
|-- api
|-- polyline.js // 模拟真实数据接口请求
|-- components
|-- map
|-- index.vue // 地图单文件组件,供界面调用
|-- index.js // 地图初始化、配置相关
|-- polyLine.vue // 简单封装的轨迹组件,演示用
|-- views
|-- polylineTest // 演示实例所在
|-- index.vue
|-- index.scss
|-- index.js
|
代码
按代码总览的目录去代码里找着看就行了。
总结
以上,只是简单的封装。轨迹组件只是在 JS API UI 组件示例 上面随便找了个轨迹展示的简单路径的示例代码。真正使用的时候,可以看需求拓展。像轨迹上面的每个点,可以弹窗显示具体地点的信息的,这个在人员轨迹展示的时候,很常用到。这个涉及到Vue实时渲染组件的用法,这里不多说了。